
Here is how it was made. First I cut some plastic sheeting (about a buck at the craft store) down to the same dimensions as a tag. Obviously it will go together later.

Then I ran the plastic though my Big Kick with a Darice embossing folder that sort of looks like cracked rock. Maybe it's supposed to just be wrinkled paper. Oh well... art.

Next I used the three bright colored alcohol inks I have (in Stream, Butterscotch, and Wild Plum) to fill in a stencil of a dragonfly that I had. I tape it down because I'm horrible and move the stencil sometimes.

Annnddd the ink bled all over the damn place. Sooo I took Distress ink in Antique Photo and put it all over the back of the stencil and put it back on the paper to outline the important parts since I'll be cutting this out anyway. It looks a little better. I'm going for rustic sort of anyway so we'll see how it goes.

Now to add some texture I cut the dragonfly out and distressed the edges a little bit with more ink, and then covered the whole thing in Distress Rock Candy Crackle Paint and put it aside to dry while I went on a conference call and my dog flipped out with the thunder.
I forgot to take a picture of that step, but basically it added the "scales" to the dragonfly wings.
Next I wanted to work on the tag itself. I have the plastic already textured but I need to work on the actual tag, so I used vintage photo watered down to put an initial smear of color on the back. Then I watered down Wild Honey Distress Stain and did the same thing. It wasn't looking "splotchy" enough for me so I used some more Wild Honey and didn't dilute it as much and used a paintbrush to flick it on. And now it's too orange but here is where I COULD have stopped:


So then I hit it with some more alcohol inks. I used Butterscotch, Wild Plum, and Latte with a ton of blending solution to fade it. Now the background has some nice colors to it I think.

I took some scissors to the edge and then inked it up with some Vintage Photo ink. Then I started the assembly process. I glued the plastic to the tag (though Tim stapled his. I don't have his tiny stapler and not sure I really want it so I'm going with the glue). Glue in spots that will be covered with other stuff later.

I wanted some more texture so I sprayed a mist bottle in the air and tossed the tag through it to get it a little wet and then sprinkled black embossing powder on and hit it with a heat gun. It's a small detail, but it adds some "dirty" to the desert look.

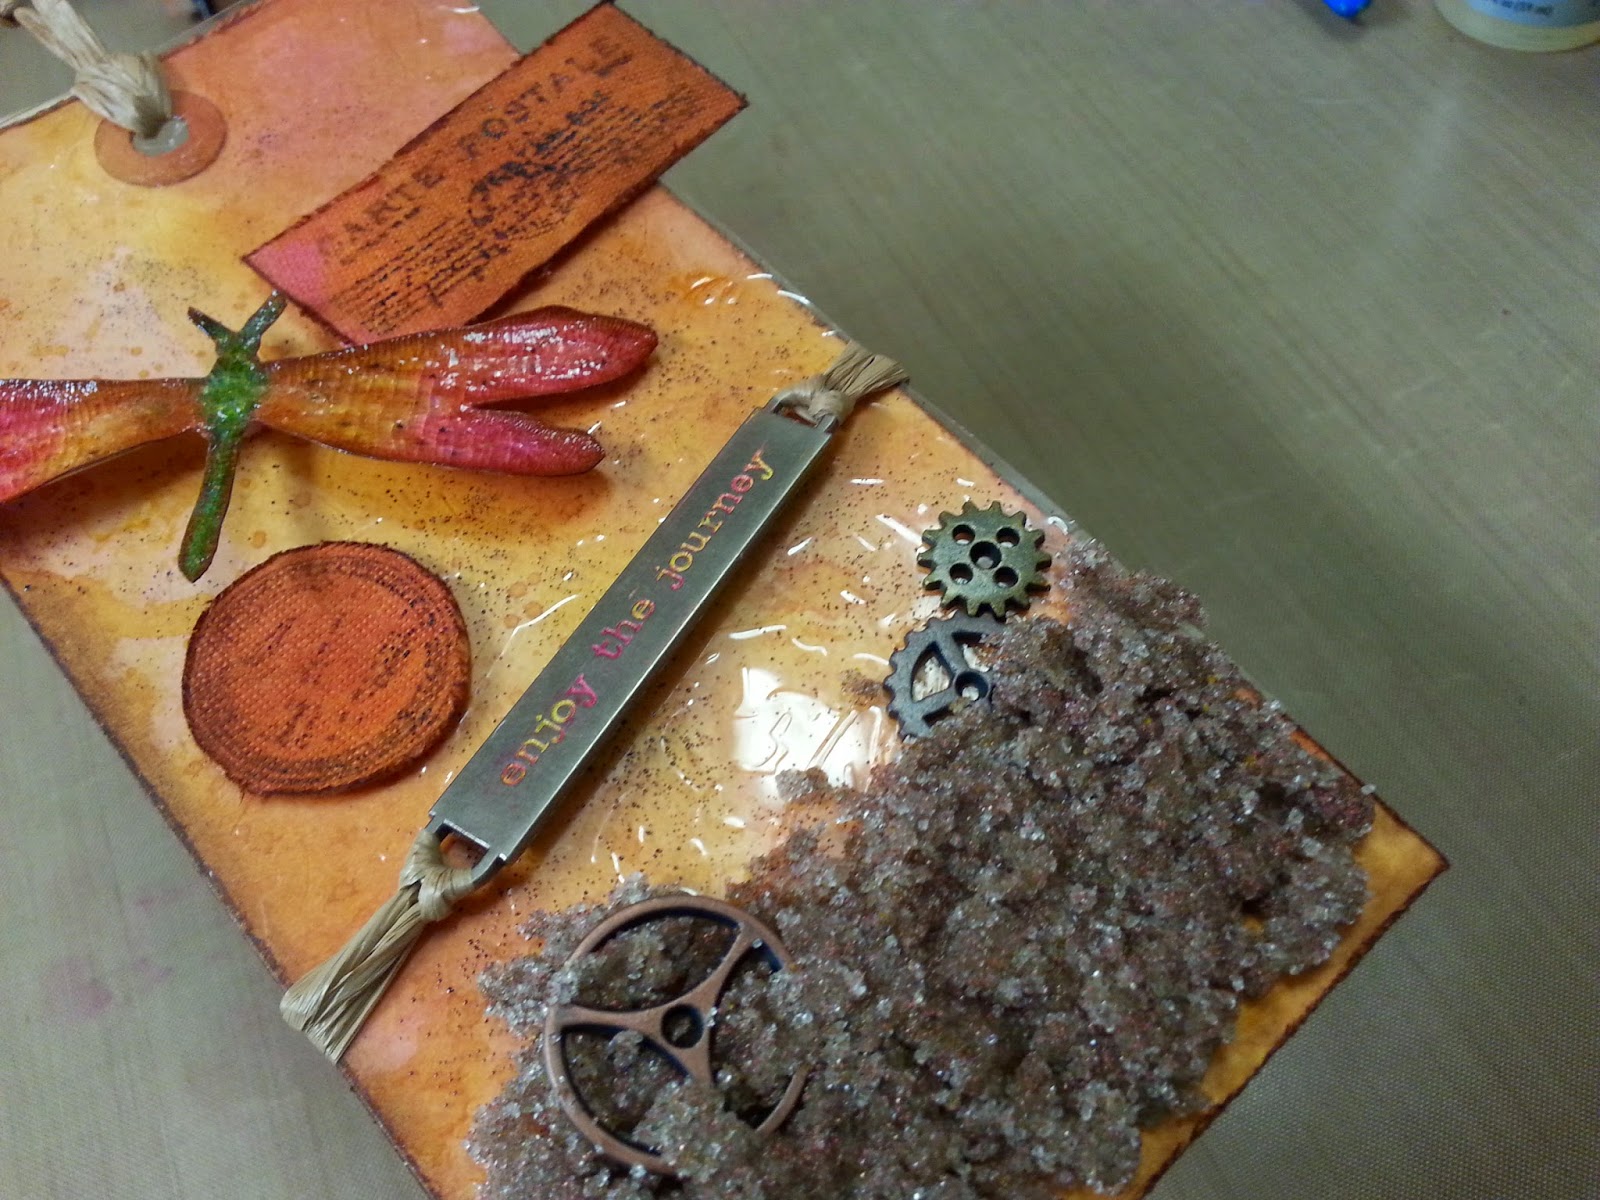
Now time to add some fun things. My dragonfly is finally dry and crackly so I'm going to add that to the tag along with some steampunk gears I have left from another project and a word bar that I put a little paint in and wiped off the extra. I'm attaching most things with glue but I'm attaching the word bar with raffia. The gears will actually be added in the next step. I also decided to stamp out some travel stamps and emboss them real quick because I didn't like the empty spaces I had. The cardstock roughed up and stuff kind of looks like fabric. I'm going to remember this for another project. I also added raffia to the tag part.
Again, didn't take a picture (sorry I'm new at this! Ahhh!)
To attach the gears for the bottom, I mixed ultra thick embossing enamel with red, copper, gold, and a little black embossing powder and added glue to make a sand looking mixture. Then I used a little spatula to put it down and glued everything in place. This is where it ended:

Great tag Steve. I like how you colored the dragonfly with Alcohol inks. The background looks really good too. Karen.x
ReplyDelete