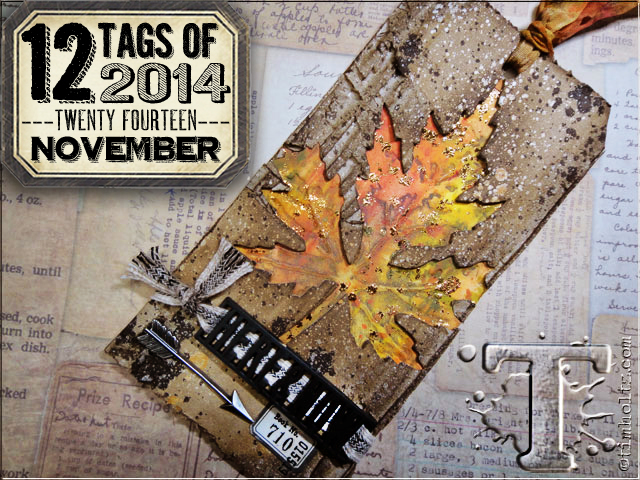
It's that time again!
Time for the monthly Tim Holtz 12 Tags of 2014 challenge. As you may have noticed on the right hand side, I entered for October as well... AND WON! I was listed first on this month's challenge which helped bring a bit of traffic here. Well I'm at it again but this time I had to be even more resourceful than the last time.
So one of the first issues I ran into is that I don't have a lot of these products yet. Namely, I don't have dies that only punch out one item, and I definitely haven't been able to invest in the cool dies that come with the texture folders. Looking around my room, I found the only thing I could that even came close... this tiny $1 snowflake punch haha. But, because it's so small, I had to scale the tag down a bit to get the same proportions that Tim got. That's when things started to get ridiculous...
That tag, by the way, is 1/2 an inch by 1 inch. So. Tiny. So then I took my micro tag and added distress paint to create some layers. Of course it was too small to handle easily so out came the quilling tweezer things.
I wanted a little bit more texture so I pulled out a stamp of a person's face and used the skin texture (weird to type that) to create some nice white shading on the tag.

Tim used embossing powder to put some foil on the tag. I don't have foil and the tag is too small for embossing powder anyway, so I just used the tiniest paintbrush I have to do some dots here and there with alcohol inks.
Then came the punch time. Slipped that bad boy in there and punched out the flake.
At this point I was "supposed" to use Distress stain spray to add splatter things, but honestly one pump of the spray would have soaked the tiny tag, so I used the marker puffer thing. What is that thing called? *Googled* It's a spritzer.
After that I added some dots of alcohol ink in Gold. I decided I wanted to emboss the snowflake a little bit, but I don't have a tiny embossing folder so I flipped everything over and spritzed the tag to find where the snowflake is on the other side (it also just left the back looking nice at the end. You know, for a microscopic message or something). Then I used my tweezers to carefully emboss the tag using a rubber stamp thing.

For a sentiment, I had to get creative. Everything I had was so big. I went to the blueprint set and stamped out just the word "WISH" and cut it out. Then I had to tape it down to spritz it with spun sugar and tumbled glass markers and then started the assembly...
I glued the tag back to the cardboard piece, added the word, and then struggled for 5 minutes to get a tiny piece of twine through the hole in the "tag" haha. It worked out in the end. Here is the finished product again :)
Compared to last month's tag (haha):
-Steve


Great improvisation for not having all the goods, and love the micro size!!! So COOL and great take!
ReplyDeleteThanks for the kind words Anita! Working micro was definitely an adventure haha. I look forward to using "grown up" tags again soon.
Delete